Why paint pine cones, you may ask?
Well, if you live anywhere near a pine tree, or have a friend that does, or go to a park that has them then you have access to FREE pine cones. Free pine cones in my mind (as you’ll see) equals free home décor. Toward the bottom of this post you will see LOTS of great ways to use them. I love FREE especially when it comes to home décor which can be so expensive.
I have tried painting pine cones a few different ways. You didn't know it would be so difficult, huh? Well, because of all the nooks and crannies, there
is a BETTER way to paint them. Of course if you are going for a certain look then you may like one of the other ways.
I have tried spray-painting them and I have tried dip-painting them. The better way is definitely dipping them, however, there is even a better way to DIP them.
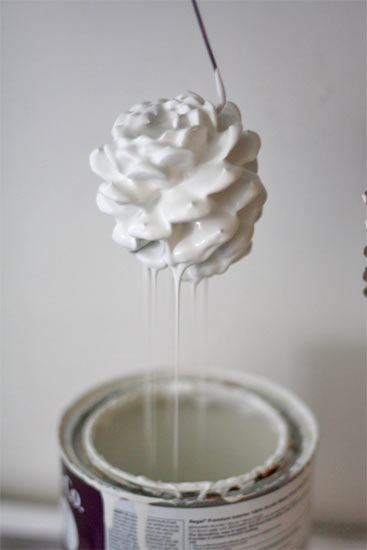
Many of you may have seen
this image on Pinterest:
Well, it looks great and easy but let me tell you its fallacies: 1) Do you really want to pollute a can of paint with pine cone debris? 2) Do you really want to wait for each pine cone to drip dry over your paint can before dipping another? Well, sure you can move the dipped pine cone to another location to dry but then the paint running off pools in spots and looks bad after it's dried as a blob on the pine cone. (Experience IS the best teacher and learn from me!) 3) Do you know how messy it is to dip your pine cones this way because of the thick paint? Plus, it uses a LOT of paint.
Spray painting can be easier. When I tried this I put several in a box and sprayed them outside while I shook the box gently to get them sprayed all over, I thought they were covered well. However, when they dried (shaking the box a few times as they dried so they wouldn’t stick), they had an almost transparent look with the natural color of the pine cone coming through.
First of all, you have to heat up the pine cones to kill all the hiding little bugs and to dry up any lingering pine sap. Heat your oven to 200 degrees and put the pine cones on a baking sheet covered in aluminum foil or parchment paper. Bake for 30 minutes. You might find some junk that you had not seen before on the paper:
Also, this will ensure the pine cones have opened up. You want this to happen because if you are feeling lazy and try to paint them before they open, weird things happen....like they open partially....
See, I have done my in-the-field research and am presenting to you the BEST way to paint pine cones. Now that you have done this simple step to preserve your pine cones, let's move on the fun part. (Drum roll please.)
Supplies
- collection of pine cones in a variety of sizes, if desired
- latex or craft paint (using whatever you have already is a bonus!)
- plastic containers with lids or other containers that you can use with paint
- water
- tongs, fork, or something to pick up the paint-covered pine cone
- wax paper
Directions
- In a plastic container, pour paint and add water at a ratio of 2 parts paint to 1 part water. Put on the lid and shake until the water and paint are mixed.
- Open and drop in a pine cone. Cover again and shake gently until pine cone is covered.
- Remove pine cone with tongs or a fork and place on wax paper to dry.
- Repeat with the rest of your pine cones using different containers with various colors to get the look you want.
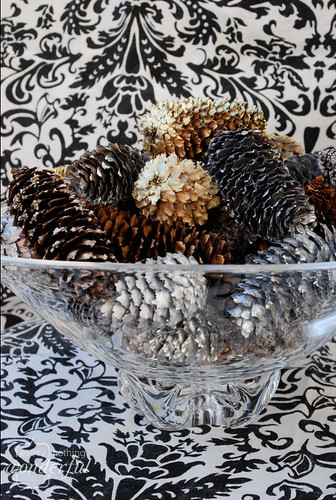
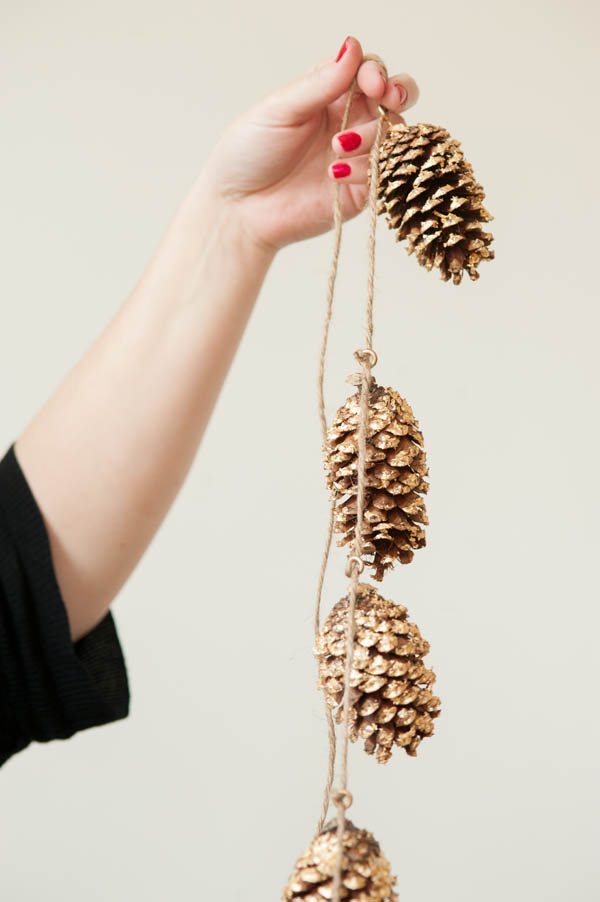
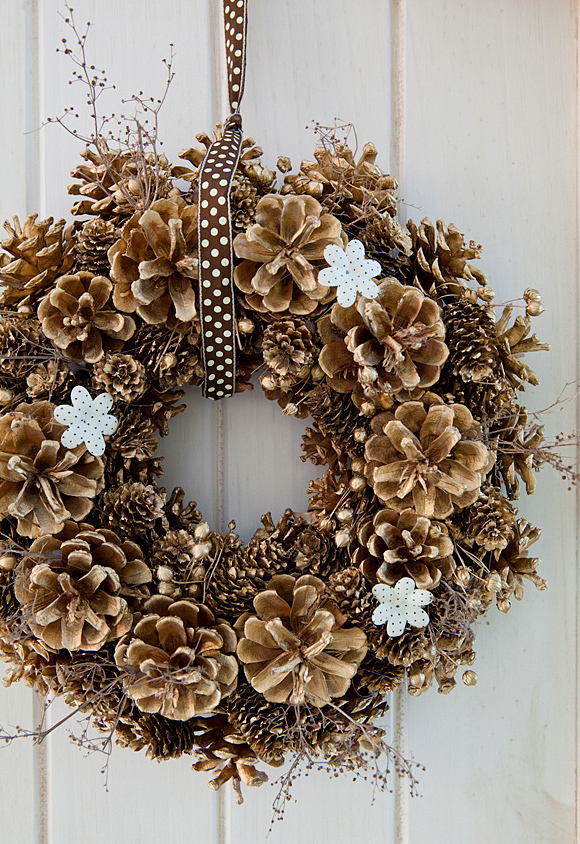
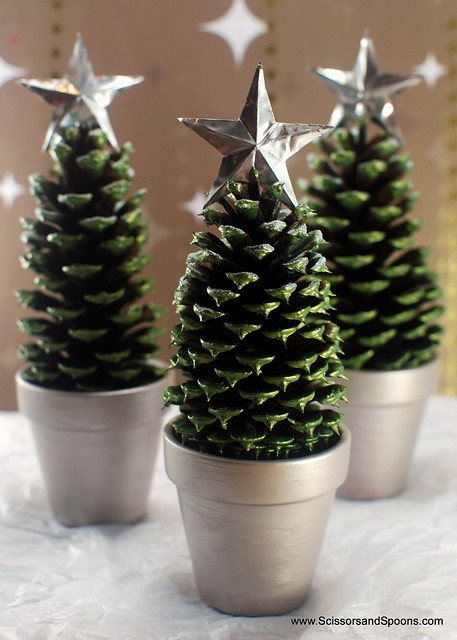
Now, how to use these painted pine cones….here is some pine cone eye candy…. ;)
In a bowl on a table:
In a vase or cloche:
As place markers for a get together:
Ornaments:
Gift wrapping:
Hung on a string for a garland:
As a wreath:
Hanging from a chandelier:
Don't go with the usual fall or winter/Christmas colors, think colorful for year-round use or if you use nontraditional colors to decorate.
Other ways to use them could be in a floral arrangement or on a wreath as an accent, tied to ribbon and hung on the back of chairs around your dining room table, or just as decorations like this:
A collage of some of the ones I painted.
There are lots of ways to use them! They would even make a nice (inexpensive) gift if you put them in a decorative bowl and wrap in cellophane. So take advantage of a free craft supply that is out in nature, scrounge around in your art or craft supplies or just in your garage or basement where you keep leftover wall paint, and start creating!


No comments:
Post a Comment
Thank you for visiting our site. We love hearing from our readers!